Getting Started
AutoReply365 is designed to automate replies in Microsoft 365 mailboxes using Microsoft Graph. This guide walks you through installing and configuring AutoReply365 for the first time.
2.1 Prerequisites
Before installing AutoReply365, ensure the following requirements are met:
Microsoft 365 Requirements:
- Microsoft 365 tenant with Exchange Online
- At least one shared or user mailbox (e.g., support@, sales@)
- Permission to grant admin consent
Required Role:
- Global Administrator (required once during initial setup to grant Microsoft Graph application permissions)
Supported Mailbox Types:
- Shared mailboxes
- User mailboxes
AutoReply365 uses application-level Microsoft Graph permissions to operate in the background without requiring a signed-in user for mail processing .
2.2 Installation

Step 1: Install from Microsoft Marketplace
- Open the AutoReply365 listing from the Microsoft Marketplace
- Select Get it now
- Sign in with a Global Administrator account
Step 2: Grant Admin Consent During installation, you will be asked to grant Microsoft Graph permissions.
AutoReply365 requires application-level permissions to:
- Read incoming mail
- Send replies
- Access mailbox metadata
These permissions allow the system to automate replies securely within your tenant .
Best practice: After installation, use Exchange Online Application Access Policies to restrict AutoReply365 to specific mailboxes only.
2.3 First Login
After installation:
- Navigate to the AutoReply365 web application.
- Sign in using Microsoft.
- Your tenant is automatically identified using your Microsoft identity token.
- Your account is linked to your tenant environment.
2.4 Connect Your First Mailbox
Each mailbox can have its own independent rules and templates.
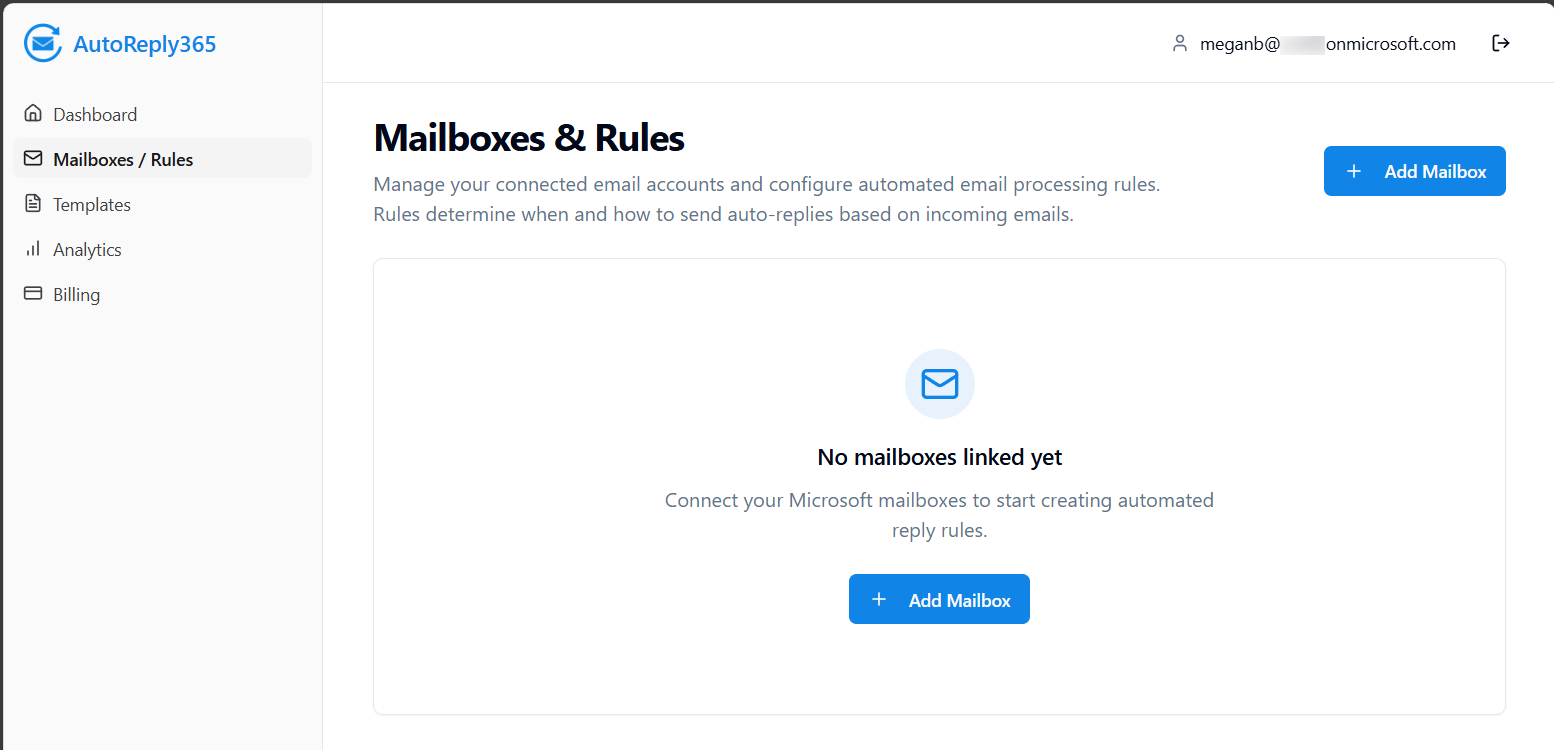
Once logged in, add the mailbox:
- Navigate to Mailboxes / Rules
- Click Add Mailbox
- Enter the mailbox email address
Step 2 – Verification AutoReply365 verifies the mailbox, confirming it exists in your tenant
Once verified, the mailbox becomes available for rule configuration and tracking.
2.5 Create Your First Auto-Reply
To activate automation:
Create a Template
- Define subject and body (HTML or text)
- Add attachments if needed
- Use dynamic variables such as: {{ email.sender.name }} {{ mailbox.name }}
Create a Rule
- Define conditions (e.g., Sender is external)
- Select your template
- Optionally enable Stop Processing
Enable the Rule
Rules are evaluated in order, and replies are sent automatically when conditions match .
2.6 Verify It’s Working
Send a test email to the connected mailbox.
You can confirm operation by:
- Checking your inbox for the auto-reply
- Reviewing the Analytics dashboard
- Viewing event status (Processed / Error)
Replies are delivered through your own Exchange Online tenant using Microsoft Graph sendMail .
2.7 What Happens in the Background (High-Level)
Without exposing architectural details:
- AutoReply365 monitors new emails securely via Microsoft Graph.
- Incoming messages are evaluated against your configured rules.
- Matching rules trigger replies using your selected templates.
- Built-in loop prevention avoids auto-responder conflicts.
No mailbox credentials are stored. All processing happens securely within Microsoft’s authentication framework.